
Honeyswap allows you to pool two tokens together that are pooled on the exchange by providing liquidity to get a portion of the trading rewards - which is the same system audited system used by Uniswap. This guide will show you how to add liquidity on Honeyswap, and how to check your liquidity using the analytics page.
Step 1: First, goto https://app.honeyswap.org/ and connect your wallet by clicking the ‘Connect to a wallet’ button in the top right.
Step 2:Once your wallet is connected, you’re ready to trade. Also at this point you can add the HNY token to your Metamask interface by clicking the ‘Add HNY to MetaMask’ button. In order to provide liquidity on Honeyswap, you must have equal parts of two tokens. For this demo, I will use xDai and Honey, so I will purchase two equal parts of these tokens. I will set the parameters of the trade, and click ‘Swap’. Another window will pop up to confirm the details of the trade, after you can hit ‘Confirm Swap’. Your Metamask will now open to initiate the details of the trade.
Step 3:Once the trade is confirmed, hit the ‘Pool’ tab at the top, and click ‘Add Liquidity’. Then choose the tokens and the balance of liquidity you would like to add to the pool. Once you’ve selected your balances, click ‘Supply’, and again ‘Confirm Supply’, and then ‘Confirm’ again on your Metamask.
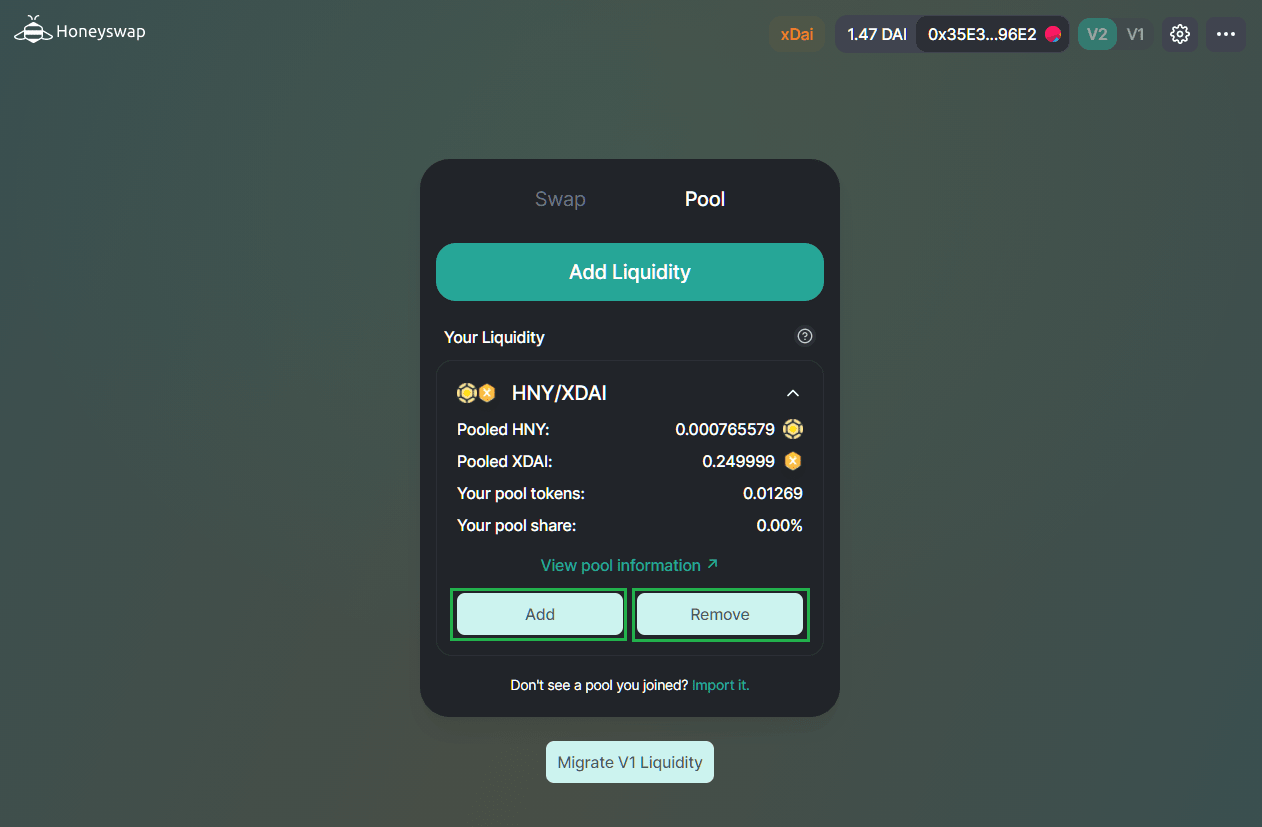
Step 4:Your liquidity will now appear under the ‘Pool’ tab. If at any time you wish to remove your tokens from the pool, simply click the ‘Remove’ button.
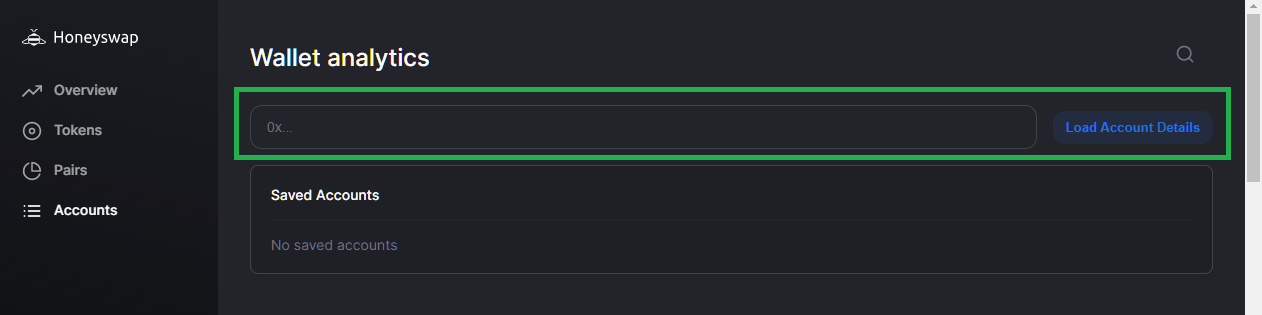
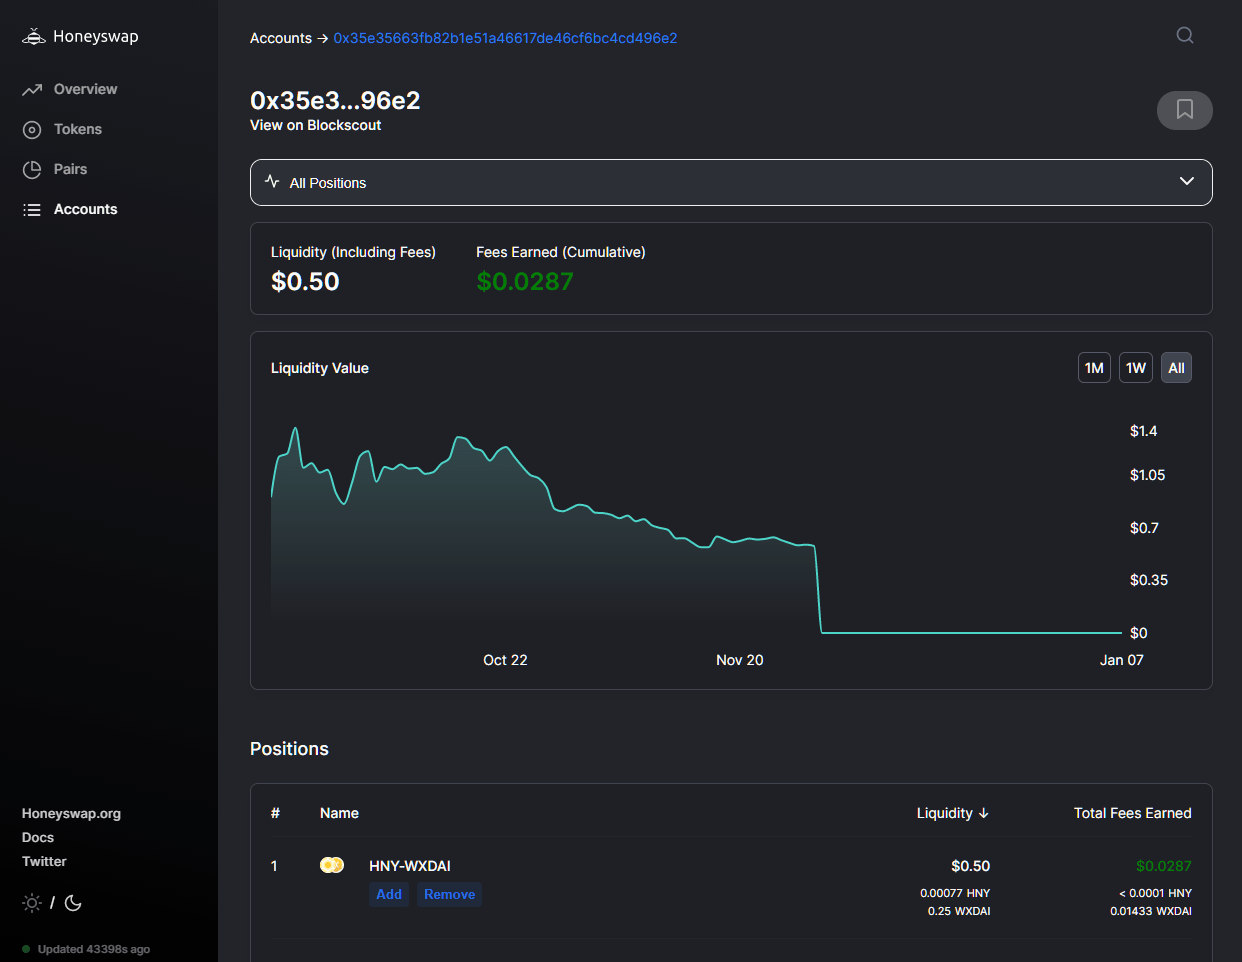
Additionally, you can goto https://info.honeyswap.org/accounts and type your public account address in the wallet analytics, and click ‘Load Account Details’.
Congratulations! You now have used the tools to swap, pool, and view the analytics of your account on Honeyswap. Enjoy the low fees and blazing fast transactions! If you need further help or assistance, please visit us on the 1Hive Discord.
Previous Tutorial
Next Tutorial